

Hey there, fellow candle enthusiasts and DIY lovers! I'm a supplier of Cement Candle Vessel, and I've been knee - deep in the world of concrete and candles for quite some time. One question that comes up again and again is, "What is the best cement mix for a candle vessel?" Well, let's dive right in and find out!
Understanding the Basics of Cement Mixes
First things first, we need to understand what goes into a cement mix. Cement is the binding agent, but it's usually combined with other materials like sand, gravel, and water. The ratio of these components can vary widely, and each variation has its own set of properties.
Portland Cement
Portland cement is the most common type of cement used in construction, and it's a great starting point for making candle vessels. It's strong, durable, and readily available at most hardware stores. When mixed with water, it forms a paste that hardens over time through a process called hydration.
Aggregates: Sand and Gravel
Aggregates are added to the cement to give the mix more volume and strength. Sand is a fine aggregate, while gravel is a coarse one. For candle vessels, we usually stick with sand because it gives a smoother finish. The sand also helps to reduce shrinkage as the cement dries, which is super important to prevent cracks in our vessels.
Water
Water is the key to making the cement work. It activates the chemical reaction that causes the cement to harden. But too much water can make the mix too runny, and too little can make it difficult to work with. Finding the right water - cement ratio is crucial.
The Ideal Cement Mix for Candle Vessels
Based on my experience, a good cement mix for candle vessels is a ratio of 1 part Portland cement, 2 parts sand, and just enough water to make a workable paste. This ratio gives us a mix that is strong enough to hold the weight of the candle wax, yet smooth enough to create a nice finish.
Why This Ratio Works
- Strength: The 1:2 ratio of cement to sand provides a good balance of strength and workability. The cement binds the sand particles together, creating a solid structure.
- Smooth Finish: Since we're using sand instead of gravel, the surface of the vessel will be smoother. This is important because it makes the vessel look more professional and is easier to decorate.
- Shrinkage Control: The sand helps to control shrinkage as the cement dries. This reduces the risk of cracks forming in the vessel, which could compromise its integrity.
Mixing the Cement
Now that we know the ideal ratio, let's talk about how to mix the cement. Here's a step - by - step guide:
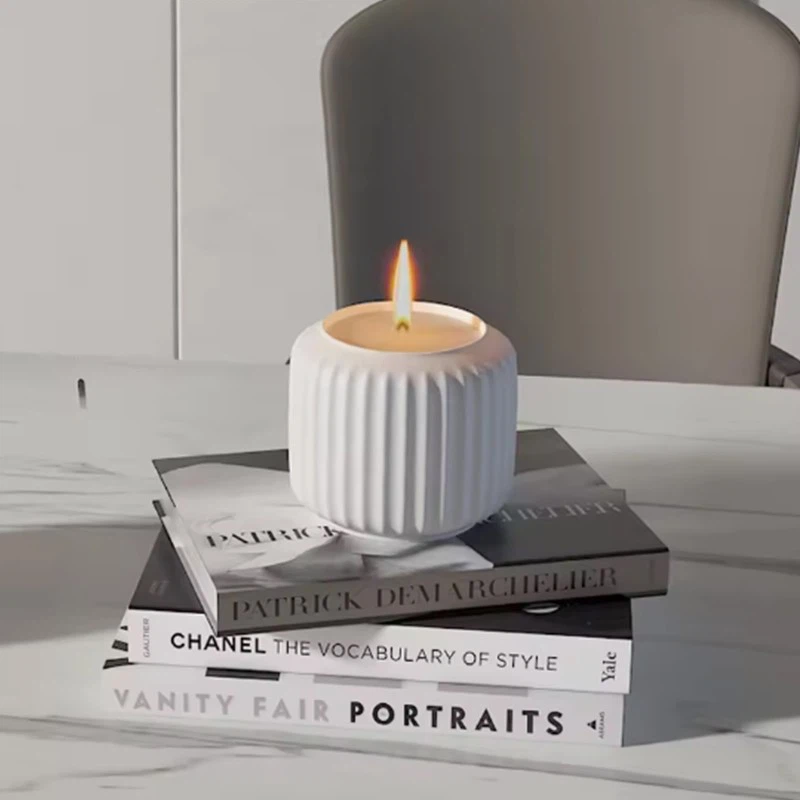

Step 1: Gather Your Materials
You'll need Portland cement, sand, a mixing container, a trowel or a mixing tool, and water. Make sure your mixing container is clean and dry.
Step 2: Measure Your Ingredients
Use a measuring cup or a scale to measure out 1 part cement and 2 parts sand. Pour them into the mixing container.
Step 3: Start Mixing
Slowly add water to the dry ingredients while stirring with your trowel or mixing tool. Start with a small amount of water and gradually add more until you get a workable paste. The paste should be thick enough to hold its shape but still easy to spread.
Step 4: Mix Thoroughly
Keep stirring the mix for at least 5 minutes to make sure all the ingredients are well - combined. You want a uniform color and texture throughout the mix.
Pouring and Shaping the Candle Vessel
Once you have your cement mix ready, it's time to pour it into a mold to create the candle vessel. You can use a variety of molds, such as silicone molds or plastic containers.
Step 1: Prepare the Mold
Grease the inside of the mold with a thin layer of cooking oil or a mold release agent. This will make it easier to remove the vessel from the mold once it's dry.
Step 2: Pour the Cement
Slowly pour the cement mix into the mold, making sure to fill it evenly. Use a trowel to smooth the surface of the mix.
Step 3: Remove Air Bubbles
Tap the mold gently on a hard surface to remove any air bubbles that may have formed in the mix. You can also use a toothpick to pop any visible bubbles on the surface.
Step 4: Let it Dry
Let the cement dry for at least 24 hours. The drying time may vary depending on the temperature and humidity in your environment. Once it's dry, carefully remove the vessel from the mold.
Finishing Touches
After the vessel is dry, you can add some finishing touches to make it look even better. You can sand the surface to make it smoother, paint it, or add decorative elements like stickers or decals.
Comparing with Other Options
There are other types of cement mixes and materials that can be used to make candle vessels. For example, some people use quick - setting cement for faster results. While quick - setting cement can save time, it may not be as strong as regular Portland cement in the long run.
Another option is to use Concrete Candle Container or Concrete Candle Jar that are pre - made. These can be a convenient option if you don't have the time or equipment to make your own. However, making your own vessels allows you to customize the size, shape, and design.
Conclusion
So, there you have it! The best cement mix for a candle vessel is a 1:2 ratio of Portland cement to sand, with just enough water to make a workable paste. This mix provides the right balance of strength, smoothness, and shrinkage control. Whether you're a DIY enthusiast or a professional candle maker, these tips can help you create beautiful and durable candle vessels.
If you're interested in purchasing high - quality Cement Candle Vessel or have any questions about the cement mix or the manufacturing process, feel free to reach out. We're always happy to chat and help you find the perfect solution for your candle - making needs.
References
- "Concrete Technology" by P.K. Mehta and P.J.M. Monteiro
- "The Complete Guide to Working with Concrete" by DIY Network